How to Customize the About Us Page
(Basic and Pro Users only).
Being able to customize the About Us Page is a great way to share further details with potential customers about what makes you special, the products you offer, and anything else you would like to share. Think about the "About Us" page as a single page telling customers why they should buy your services or products. Why they should be interested in you.
You can get ideas by looking at other paid customers profiles. You will note the paid customer profiles as they flow to the top on all searches.
Separately you can view the two example profiles:
- Pro Profile: Jeff's Tavern
- Basic Profile: Jenny's Tavern
The editor allows you to create text plus a whole lot more. Below we'll show you how to do the following:
1) Add photos
2) Use a table to organize concepts and areas
3) Use headings to create different font sizes
4) Expert level: use html programming to create even more customization.
Before we get started, always think about the consumer -- or put yourself in their shoes -- what would they want to see to find something interesting, intriguing?
1) How to Add Photos
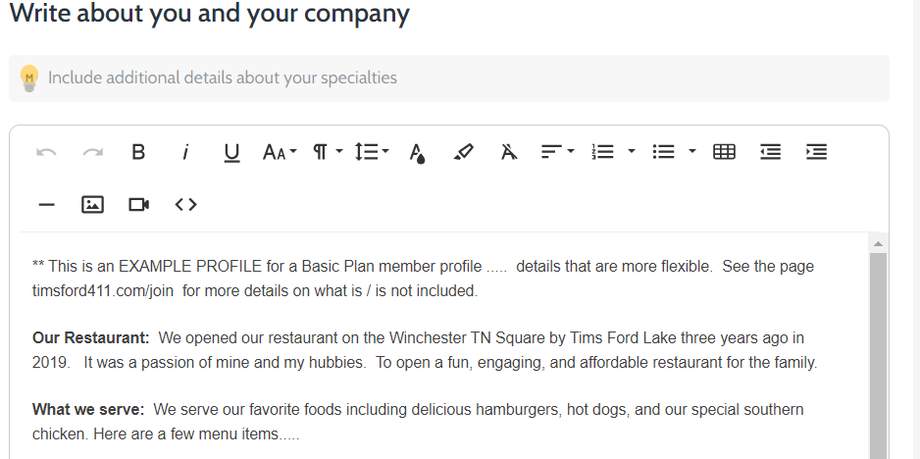
We'll be working with the Jenny's Tavern example.
- You will first be on the about us table from your dashboard.
- From there, you will see something like this:
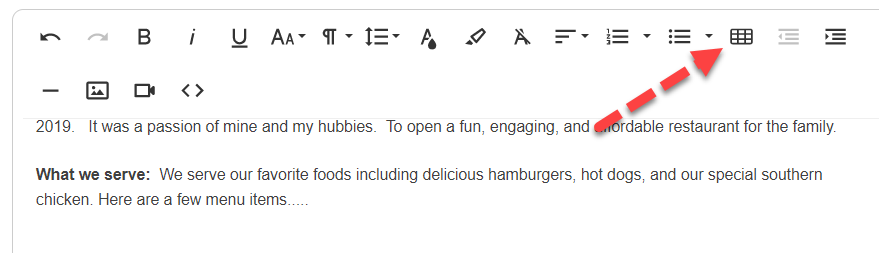
- Now you want to add a photo right below the paragraph "What we serve".
- Place your cursor right below the paragraph where you want the photo.
- Click the photo icon in the tool ribbon.

- You'll see a popup asking you where you want to get the photo from:
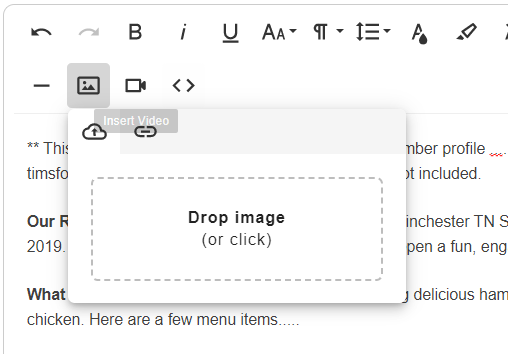
- You can drag a photo there, click the area to search for one on your computer. Once you have done one of these, then the photo will appear in the area you had your cursor.
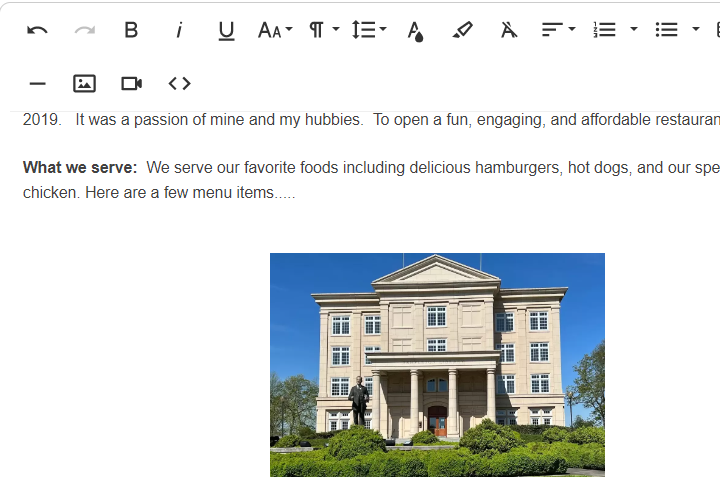
- If you want the photo larger, you can click on the photo, little black squares will appear on the photo, and you can stretch the photo out to make it larger diagonally.
- The photo can be any size you would like on the page.
- But what if you want to place photos next to each other instead? (see the next section)


2) How to Use Tables
Tables can be used to organize text into columns, text and photos net to each other or photos next to each other. For example
| This is text on column 1 | This is text on column 2 |
| This is a photo we just loaded into a table. We can also place a photo into this cell. |  |
 |
 |
 |
- To create a two column table place your cursor where you want to place the table. Then click the table icon in the tool ribbon:
- After clicking the table icon, you will see this:
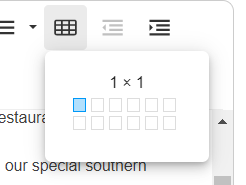
- From this, you will want to select the size of your table. Lets put three photos next to each other, so we'll need a 3 column table with just one row. Click the 3rd square on the first row.
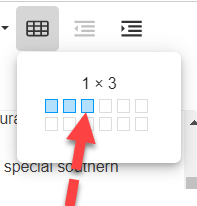
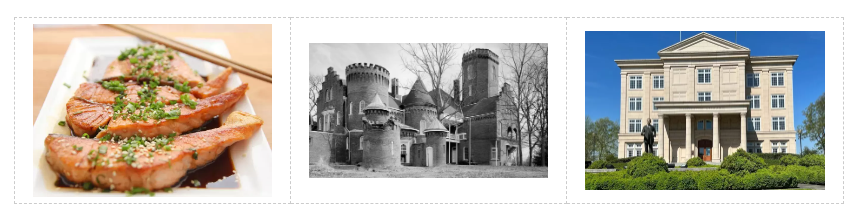
- You'll see a lightly colored table inserted where you had your cursor placed.

- Now lets fill in the table with 3 photos. Place your cursor in one of the table cells. Then load an image (via the process above) into the cell.
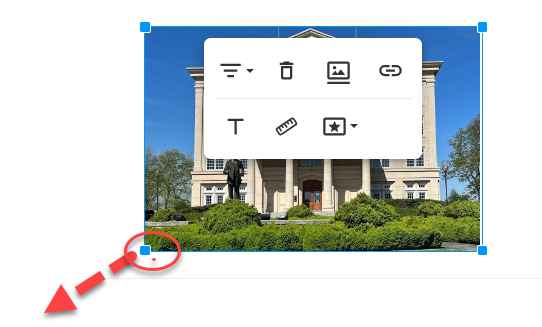
- If you click on one of the photos, you will see a bunch of icons
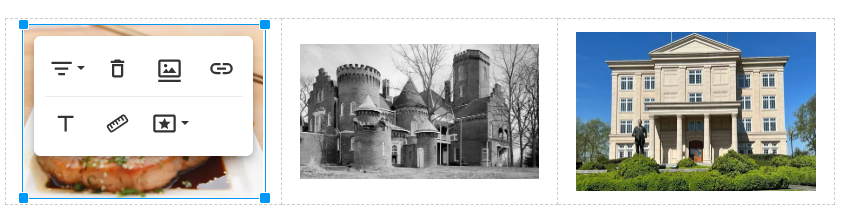
- These icons all do different things. The "T" creates alt title, the picture icon with a line under it creates a title right under the photo, the upside down triangle will center or left / right justify, and the square with the star can make the photo corners rounded or turn the photo into a circle. None of these are needed but could help improve things.


3) How to Use Headings to Create Different Font Sizes
If all of your text in the about us page is all the same size, it can get a bit boring and not really draw a potential customer in. By using both photos, and varying font sizes you can very quickly and easily create a more professional looking page.
Just as we have done on this page, you can see the different font sizes.
To see how we have used this as well as photos, see the Pro Profile: Jeff's Tavern
- What are headings?
Headings do two things. The first is that they allow a user to better understand what topic or sub topic they are reading. And two, it allows Google to better understand the key subject. - What size should I use?
Most text in a document or page is Paragraph Size. Use varying headings to draw the user to topics (as documented above). You can find the paragraph and heading drop down in the tool ribbon.
- Clicking on the dropdown shows you this
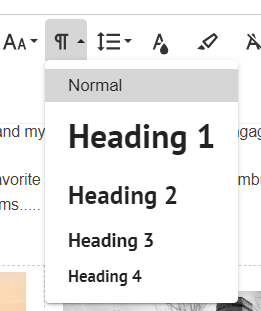
- To change the font size / heading type
First highlight the text you want to change, then click the dropdown and select the correct size. Generally speaking you only want 1 heading 1 and maybe a few heading 2's. - You can also use the BOLD icon which is the bold "B" in the tool ribbon to make any text more bold.


HTML Programming
To access or edit the source code just click the <> in the tool ribbon.